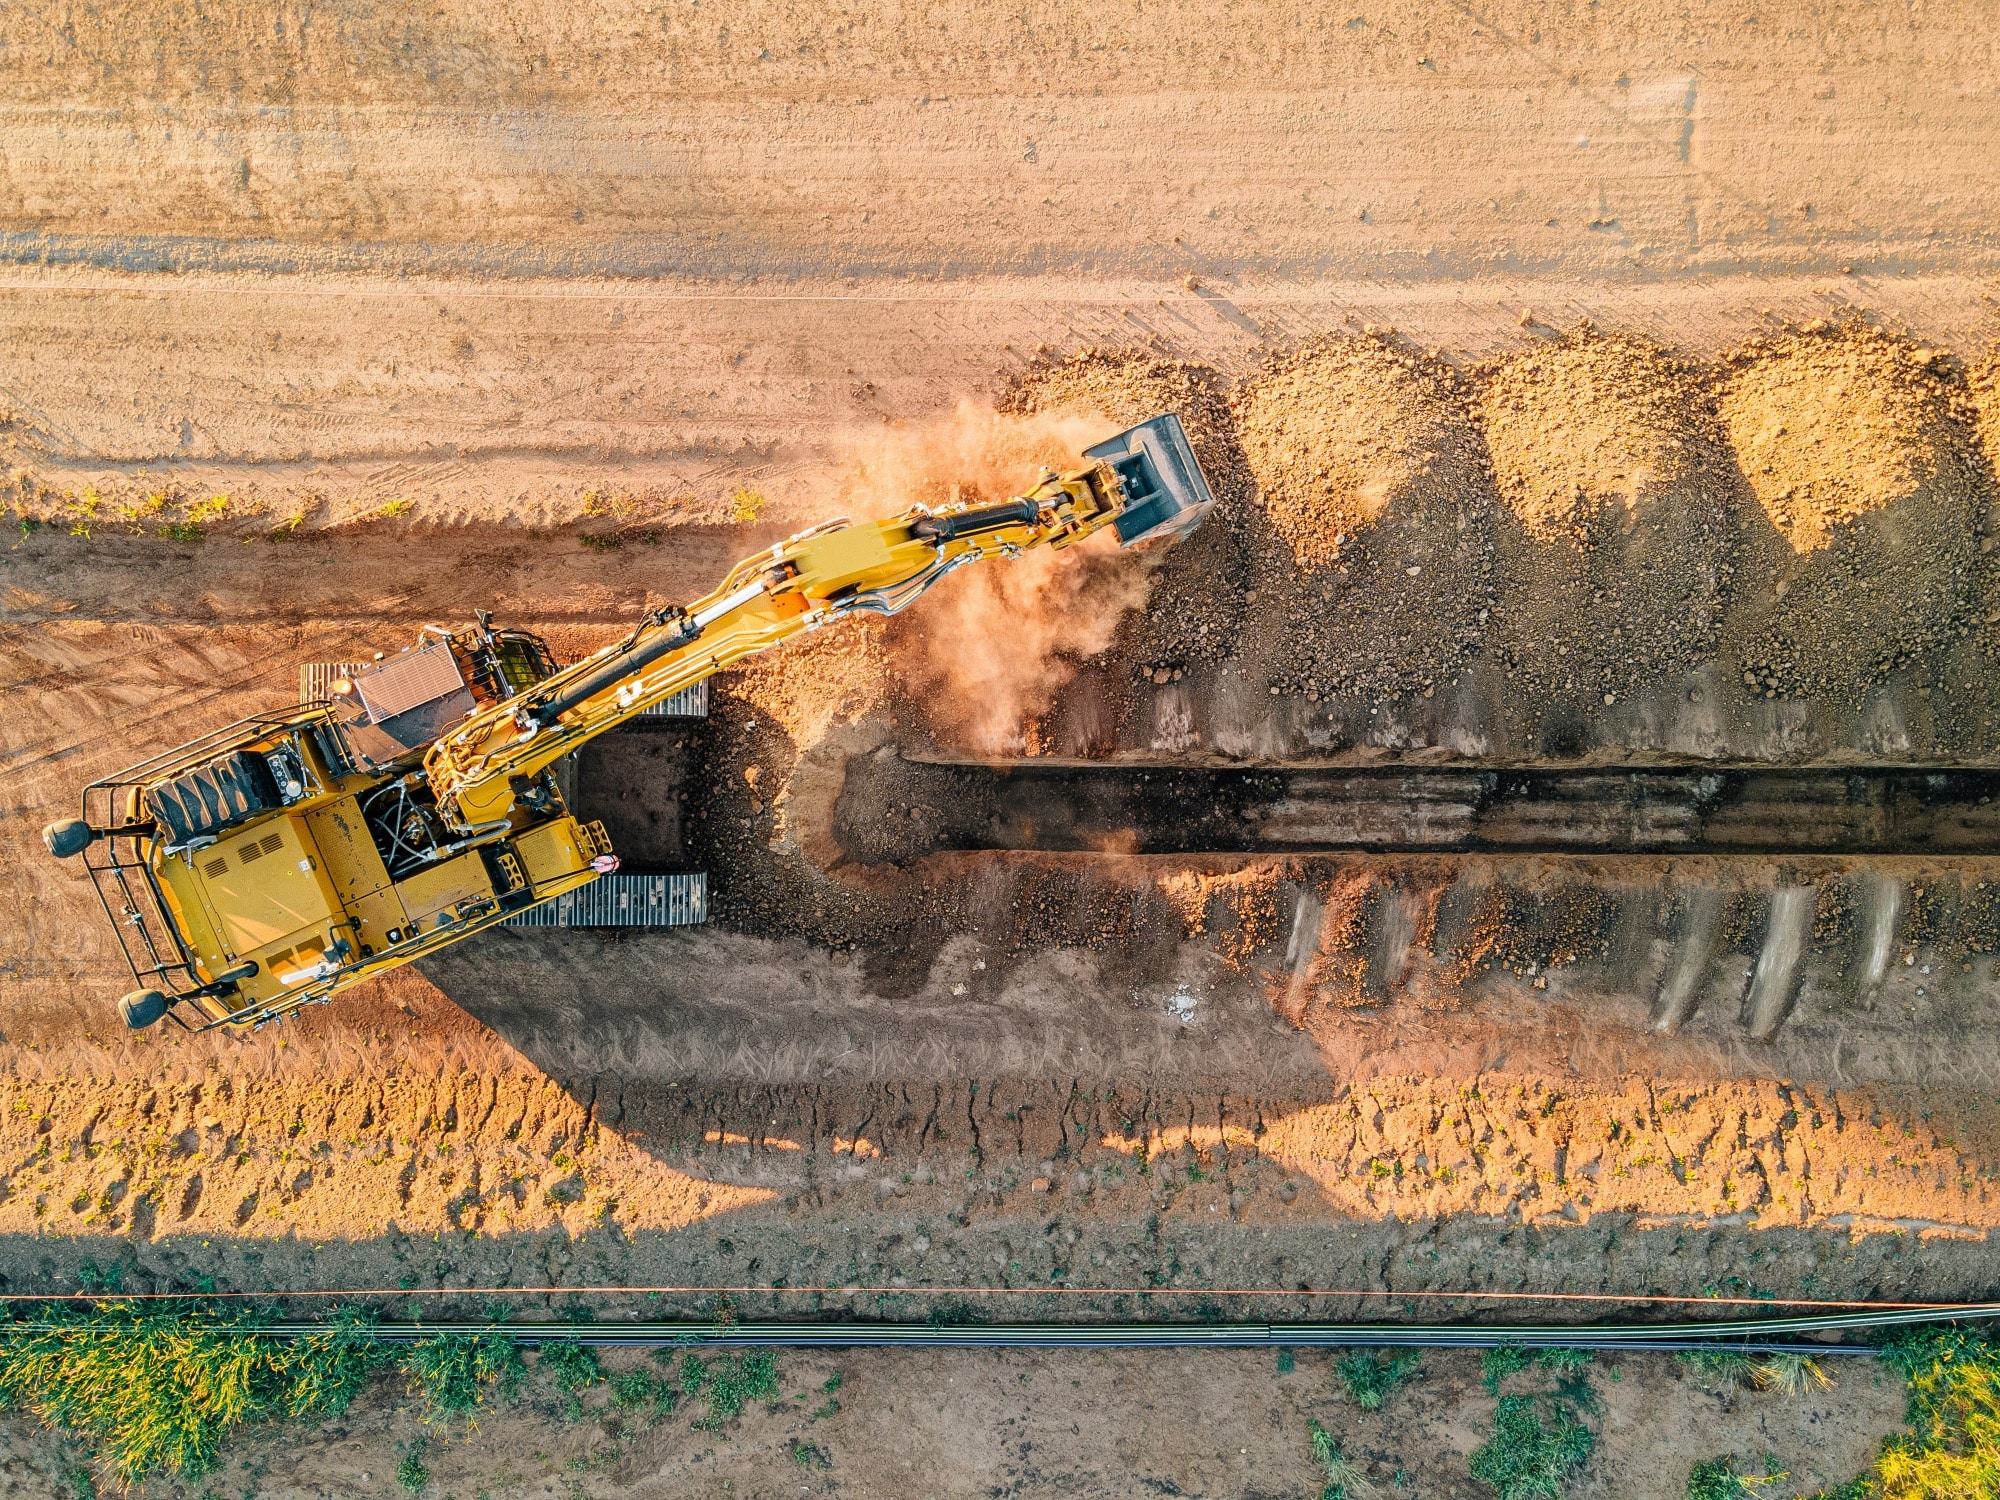
There’s a version of this project that goes smoothly. The trench goes in at the right depth, the pipe gets bedded correctly, the backfill gets done properly, and ten years later the system is still running exactly the way it was designed to. Nobody digs anything up again. Nobody troubleshoots a pressure problem that traces back to a compromised section of line. The water just works.
And then there’s the other version, which is unfortunately a lot more common. The trench was dug fast because there was a lot of other work to get done that week. The depth was close enough. The backfill was whatever came out of the ground. The fittings were hand-tightened because everything seemed snug. And two winters later, someone is standing in a frozen pasture wondering why the line that was supposed to last 30 years is already giving them problems.
The difference between those two outcomes almost always comes down to decisions made in the trench, not at the hardware store. The pipe matters. The fittings matter. But how the trench gets dug, how the pipe gets laid, and how the whole thing gets put back together determines whether the system performs the way it should for the life of the operation or whether it becomes a recurring problem you never quite solve.
Here’s what the first version actually looks like.
Depth Is the Decision That Everything Else Builds On
If there’s one thing to get right on a farm water line trench project, it’s depth. Not close to right. Not approximately right. Actually right for your specific location and the frost conditions that come with it.
In Nebraska and across most of the Midwest, the frost line sits at roughly 3 to 4 feet depending on where you are and how severe your winters run. That number isn’t a guideline or a general suggestion. It’s the depth at which the ground maintains a temperature above freezing even during the coldest stretches of a Midwest winter, and it’s the minimum depth your water line needs to reach to be protected from freezing.
Lines buried above the frost line freeze. Not every winter, maybe, and not always completely, but they’re vulnerable every time temperatures drop hard and stay there. A line at 18 inches might get through a mild winter without problems and then fail during the first genuinely cold stretch. A line at 24 inches might hold up for several years before a particularly brutal January exposes the margin it was running on. There’s no version of “close enough on depth” that doesn’t eventually show up as a problem when conditions are right.
The practical implication is that trench depth needs to be verified, not assumed. A trench that looks deep enough from the surface isn’t always deep enough at every point along the run. Ground that rises and falls, areas where the machine operator got in a hurry, sections where rocky soil made digging harder and the temptation to call it good was strong, all of these create shallow spots that become the weak points in an otherwise adequate system.
Did you know that the frost line can vary by several inches even within a relatively small geographic area based on soil type, drainage, and vegetative cover? Open, exposed ground with good drainage freezes deeper than sheltered, well-vegetated areas. If your line runs across different terrain types, the depth requirement isn’t uniform across the whole run.
Insider Tip from Jeremy: “The spots where I see lines fail from freezing are almost never in the middle of a long straight run. They’re at the transitions, where the trench crossed a low spot, or where the ground got harder and the operator came up a few inches without realizing it. Walk the route after the trench is dug and before anything goes in. It’s worth the time.”
Trench Width and What It Actually Affects
Depth gets most of the attention, and rightfully so, but trench width affects the project in ways that matter more than most people expect going in.
A trench that’s too narrow makes pipe installation harder than it needs to be and limits your ability to properly bed the pipe, which matters more than most people realize. A trench that’s excessively wide takes longer to dig, moves more soil, and creates a larger disturbed zone that takes longer to stabilize after backfill. The right width gives you enough room to work without creating unnecessary scope.
For most farm water line installations, a trench width of 12 to 18 inches is workable for the pipe sizes typically used in agricultural water systems. The goal is enough room to lay the pipe without forcing it into position and enough space on either side to get proper bedding material around it.
What Goes Under the Pipe Matters More Than Most People Think
Pipe bedding is one of those details that gets skipped regularly on farm water line projects because it adds time and material cost and the pipe seems to lie fine without it. And in the short term, it usually does. The problems show up later, when ground movement, frost pressure, and the weight of backfill above the pipe have had time to work on a pipe that wasn’t properly supported from below.
The basic principle of pipe bedding is simple: the pipe should rest on a stable, even surface that distributes the load it’s going to carry rather than concentrating stress at contact points with rocks or uneven subsoil. In practice, this means:
- Removing rocks and debris from the trench bottom before the pipe goes in. A rock directly under a poly pipe line doesn’t cause immediate failure, but it creates a stress concentration point that ground movement and pressure will exploit over time.
- Using sand or fine soil bedding in rocky areas or where the native soil is coarse and uneven. A 2 to 4 inch bed of sand under the pipe and around its sides before initial backfill provides even support and protection from point loading.
- Keeping the trench bottom as consistent as possible across the full run. Variations in trench bottom depth create low points where the pipe sags and high points where it’s suspended, both of which create stress and affect drainage in ways that matter for system performance.
This isn’t complicated work, but it’s work that gets skipped when a project is moving fast, and the pipes that end up with stress fractures, joint failures, and persistent problems at specific points along the run are frequently the ones where bedding was treated as optional.
Pipe Selection: What You’re Actually Choosing Between
The pipe conversation on farm water line projects usually comes down to a few main options, and the right choice depends on the specific application, the pressure requirements, and the conditions the line is going to live in.
Polyethylene pipe is the most common choice for agricultural water line installations, and for good reason. It’s flexible enough to handle ground movement without cracking, it’s resistant to corrosion, and it’s available in a range of pressure ratings that cover the demands of most farm water systems. The key variable within a poly pipe is the pressure rating, expressed as a CTS or IPS designation with a specific pressure rating in PSI.
Not all poly pipe are the same, and choosing the right pressure rating for your system matters more than most people account for at purchase time. A line running at or near the pressure limit of the pipe it’s installed in is a line that’s going to have problems at fittings and joints over time. Choosing a pipe rated comfortably above your system’s operating pressure is cheap insurance against fitting failures and joint stress.
PVC pipe is another option, most commonly used in situations where straight runs and rigid installation are practical. PVC handles higher pressures well and is relatively inexpensive, but it’s brittle compared to poly, which means it’s more vulnerable to cracking from ground movement, impact, and freeze-thaw stress. In agricultural applications where ground conditions are variable and the line is going to experience some movement over its life, poly is generally the more forgiving choice.
Insider Tip from Jeremy: “The question I always ask when someone’s picking a pipe is what pressure they’re running and whether they’ve actually measured it or they’re guessing. You’d be surprised how many people don’t actually know what their system pressure is. Get that number before you pick your pipe, not after.”
Fittings: Where Most Systems Actually Fail
If pipes are the bones of a farm water system, fittings are the joints, and joints are where most systems develop problems. A fitting that’s correctly selected, correctly installed, and properly secured is something you never think about again. A fitting that wasn’t any of those things is something you’re going to be digging up.
The failure modes for fittings on agricultural water lines are pretty consistent:
- Fittings that weren’t rated for the system pressure. Using a fitting rated for lower pressure than the system runs at creates a failure point that’s just waiting for conditions to be right.
- Fittings that were hand-tightened instead of properly secured. This is one of the most common installation shortcuts and one of the most reliable sources of future leaks. Compression fittings need to be tightened to spec. Barbed fittings need appropriate clamps or crimp rings. Threaded fittings need proper thread sealant and torque. None of these steps are optional.
- Fittings installed in conditions they weren’t rated for. Cold weather installation of certain fitting types requires attention to the manufacturer’s temperature specifications. A fitting installed at 20 degrees when it’s rated for installation above 40 degrees may seal adequately at first and then leak once the pipe moves through its first full temperature cycle.
- Dissimilar materials joined without appropriate transition fittings. Connecting poly to PVC, or plastic to metal, requires fittings designed for the transition. Using the wrong fitting type at a material transition is a corrosion and stress problem waiting to develop.
The quality of the fittings matters too. Agricultural supply fittings vary in quality more than the price difference always suggests. A fitting that costs a dollar more and is made to a tighter tolerance is worth it on a line that’s going underground and staying there for 20 years.
Backfill: The Step That Protects Everything You Just Did
Everything that went into the trench, the depth, the bedding, the pipe, the fittings, can be undermined by backfill that isn’t done right. Backfill is how the pipe gets protected from the movement, pressure, and stress it’s going to experience for the rest of its service life, and it deserves the same attention as the steps that came before it.
The first concern is what goes back in immediately around the pipe. The initial backfill layer, the first 6 to 12 inches above the pipe, should be free of large rocks, frozen clods, and debris that could create point loading on the pipe. The same instinct that leads to careful bedding under the pipe applies here. The pipe needs even support and protection from all sides, not just the bottom.
The second concern is compaction. Backfill that isn’t adequately compacted settles over time, creating surface depressions along the trench line and potentially allowing the pipe to shift position as the soil around it moves. On farm water line projects, some settling is normal and expected, but excessive settling from inadequate compaction creates ongoing ground movement that stresses joints and fittings over time.
The third concern is what happens when the backfill freezes. Backfilled soil that wasn’t properly compacted holds more moisture than the undisturbed soil around it, which means it can freeze harder and expand more significantly during a cold snap. That expansion puts lateral pressure on the pipe from the sides, which adds to the stress load the pipe is already managing from the weight of soil above it.
Did you know that the disturbed soil in a backfilled trench can take a full growing season or more to reach the same density and drainage characteristics as the surrounding undisturbed soil? During that settling period, the trench zone behaves differently from the surrounding ground in ways that affect how the pipe experiences temperature, moisture, and pressure.
Marking and Documentation: The Step Nobody Does Until They Wish They Had
This one doesn’t affect how the system performs on day one. It affects everything that happens to the system for the rest of its life, and it’s the step that gets skipped almost universally on farm water line projects.
Once a water line is underground and the ground has been backfilled and grassed over, finding it again without documentation is a combination of memory, guesswork, and luck. The person who installed it remembers roughly where it is. A few years later, they remember less specifically. Ten years later, when something needs to be accessed, the line’s exact location is genuinely unknown and finding it means either careful probing and excavation or a lot of hoping.
The simple solution is to document the line’s location before the trench is closed. A sketch with measurements from fixed reference points, a GPS track of the route, photos taken from consistent positions along the run, any of these create a record that makes future work on the system dramatically easier and eliminates the risk of accidentally hitting the line during other digging work on the property.
Flagging the route with marking tape buried a foot above the pipe is standard practice in utility installation for a reason. If someone is digging in the area later and hits the tape, they know to slow down. Without it, the first indication that a line is there is sometimes the sound of a trencher chain hitting a poly pipe.
When to Call a Contractor and When to DIY
Farm water line projects range from genuinely manageable DIY work to projects that really benefit from professional experience, and knowing which category you’re in before you start matters.
Straightforward situations where a capable and mechanically experienced producer can handle the work themselves include short runs in uncomplicated terrain, replacement of existing lines along known routes, and situations where the line serves a small number of animals and the consequences of getting something wrong are limited.
Situations that benefit from professional experience include long runs across varied terrain, projects near trees or other root systems, lines that need to cross roads, driveways, or other infrastructure, systems serving large numbers of animals where failure has serious consequences, and any project where the correct depth, sizing, or routing isn’t immediately obvious.
The honest version of this is that trenching equipment is readily available to rent, but knowing how to use it well on a farm water line project requires more experience than it looks like from the outside. Depth consistency, trench bottom preparation, fitting installation, and backfill compaction are all things that experienced operators do better than first-timers, and the difference shows up in how the system performs over time.
At Bear Creek Trenching & Welding, farm water line installation is work we do regularly and take seriously. If you’ve got a project coming up and you’re trying to figure out whether to tackle it yourself or bring someone in, give us a call at (402) 513-7275 or reach out through the website. We’re happy to talk through what you’ve got and give you a straight answer on what we’d recommend.